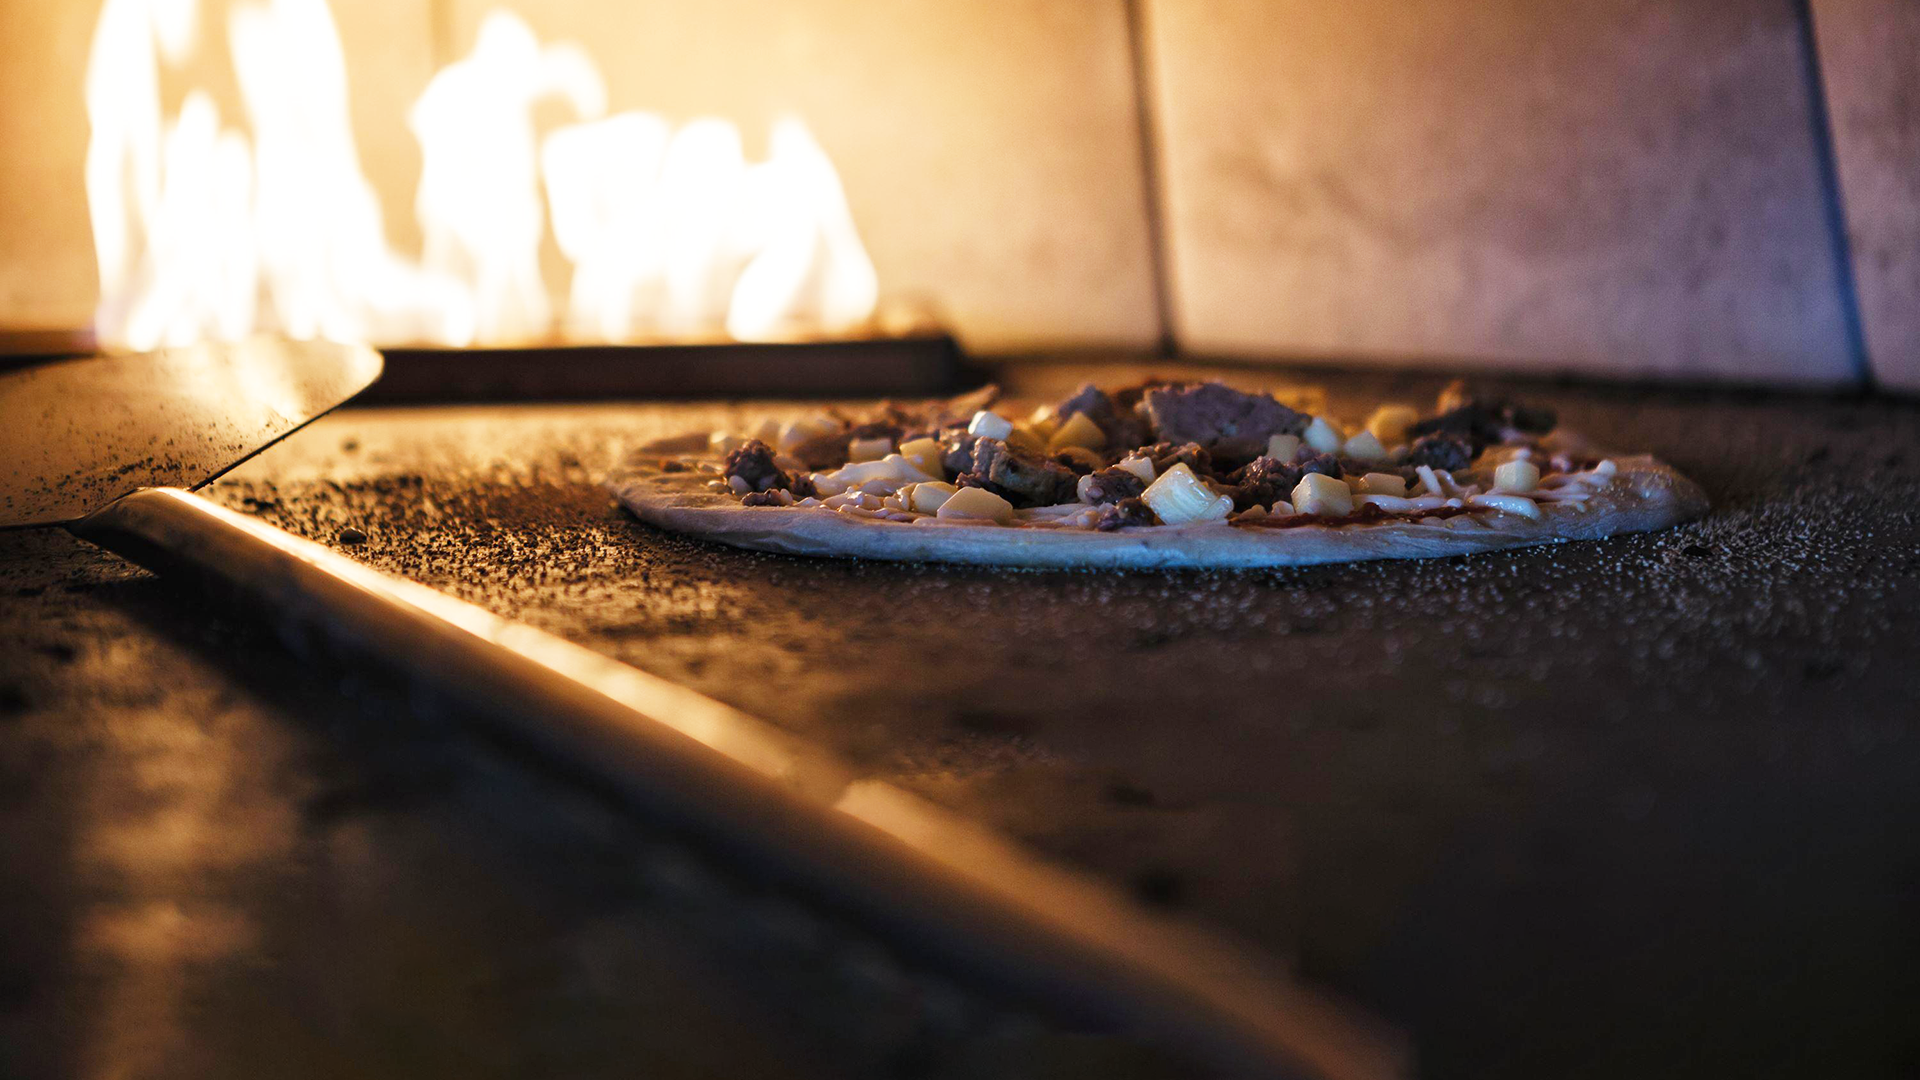
6 Secrets to Making Restaurant-Quality Pizza at Home, According to Opal Chefs
Think pizza-making may not require the same skill as, say, a flambé technique? Seasoned Opal chefs Jeffrey Armusik and Michael Desorcie beg to differ – in a big way.
“There’s definitely a finesse that comes with it that takes time to learn,” says Jeffrey Armusik. “You’d be surprised,” adds Michael Desorcie “how much the average person is doing pizza wrong.”
As chefs at Drift, a signature restaurant concept found at select Opal Collection resorts, Armusik and Desorcie know a thing or two about pizza. Armusik helming the location at Hutchinson Shores Resort & Spa in Jensen Beach on Florida’s Atlantic Coast, while Desorcie leads the culinary team at Lido Beach Resort in Sarasota on the Gulf. Both restaurants feature wood-fired ovens prominently in their dining rooms, turning out Neapolitan-style pies that make a compelling case for what a little fire, finesse, and fresh ingredients can do.
But, of course, it’s not realistic to be able to enjoy pizza from these restaurants every day. Which is why the two chefs have shared their following secrets to getting that perfect stone-cooked pizza in your personal home kitchen.
Hands-On Pizza Night at Hutchinson Shores
1. INVEST IN TWO STARTING ESSENTIALS: A PIZZA STONE & PEEL
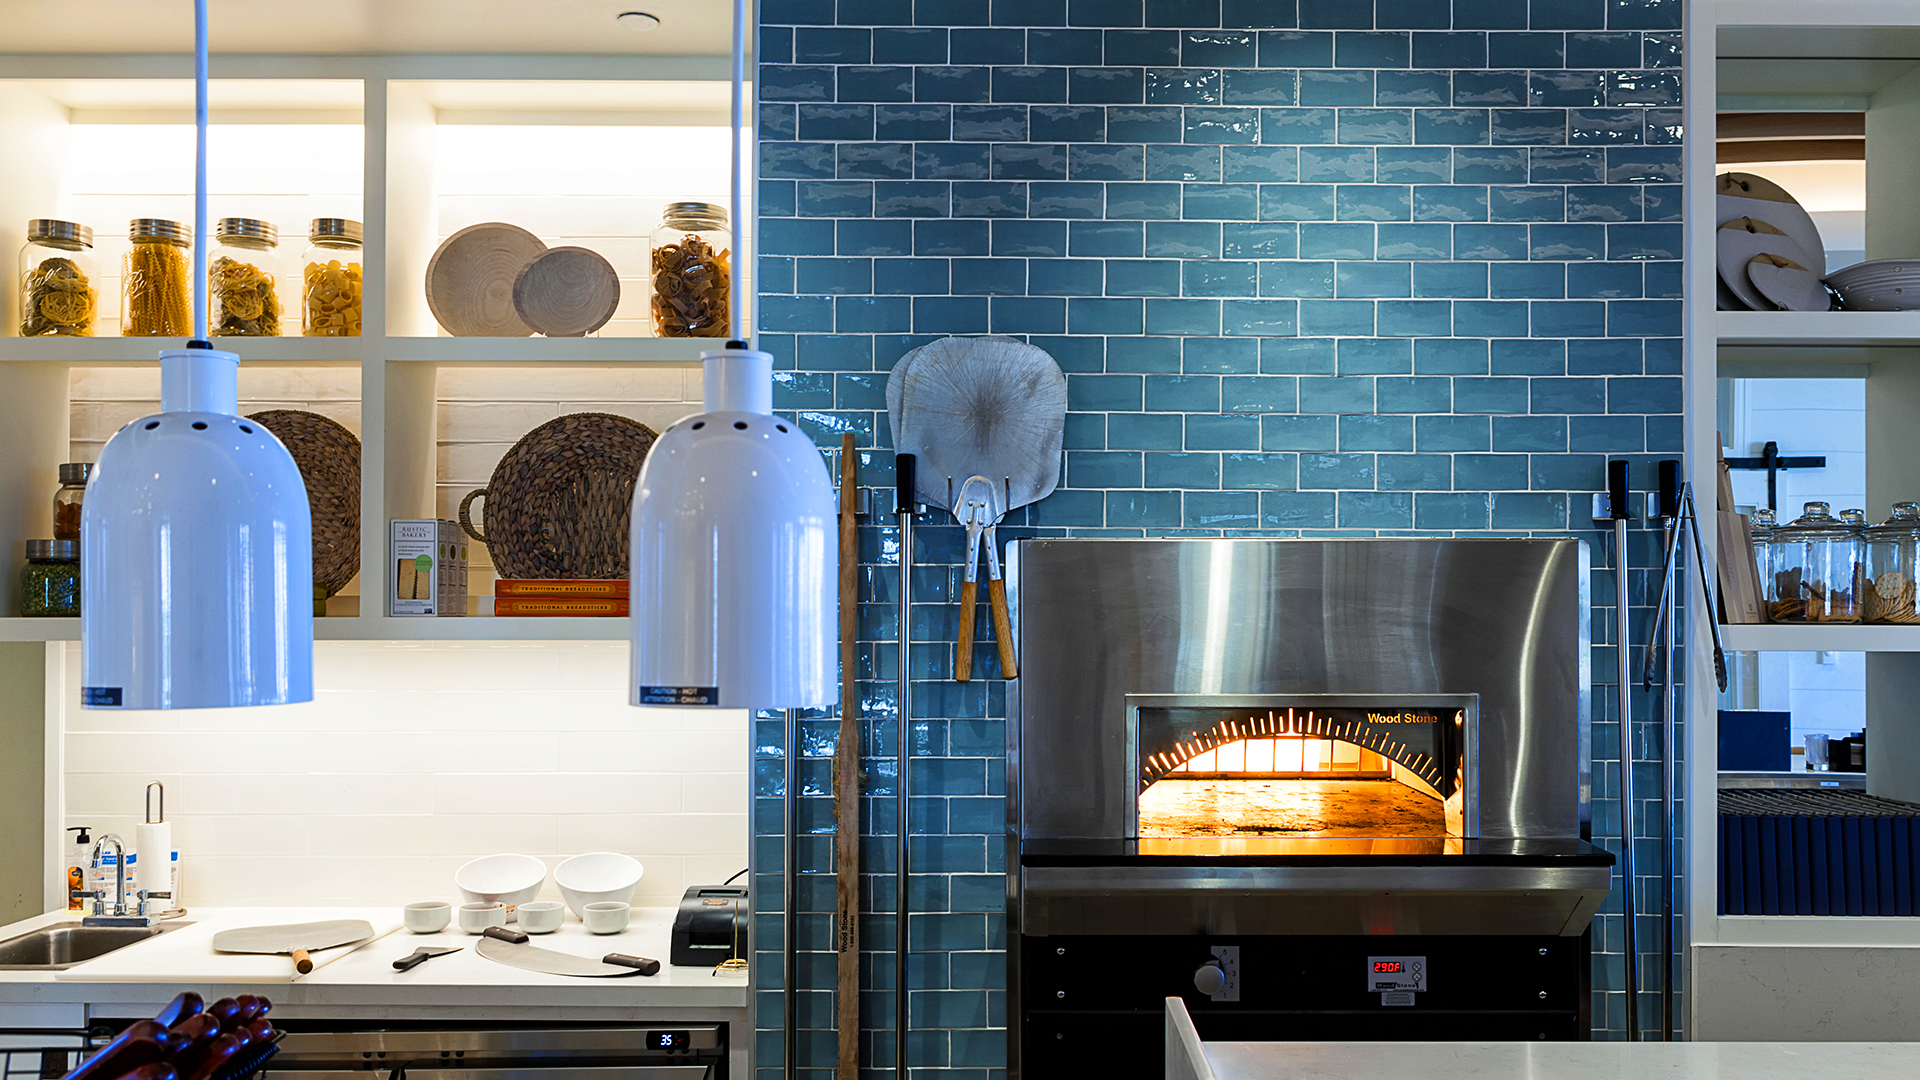
What do the duo have against a normal sheet pan? “It just won’t get crispy on a sheet pan, like it will a pizza stone,” says Desorcie, explaining how the ceramic material of a pizza stone holds heat more evenly, therefore allowing the crust to cook more evenly, unlike the metal of a pan. “Plus, by preheating the stone, it will give the dough a big burst of heat right off the bat when you slide it on there, which gives the crust a nice ‘puffing up,’” adds Armusik.
Of course, you can’t have a stone without the peel – the paddle-looking thing that slides the pie onto and off the stone during the baking process. “Just a 15- by 12-inch stone from Amazon won’t cost more than $40, and a paddle – whether wood or aluminum – will probably be around $20.”
2. GIVE YOUR DOUGH THE FLOUR – AND REST – IT DESERVES
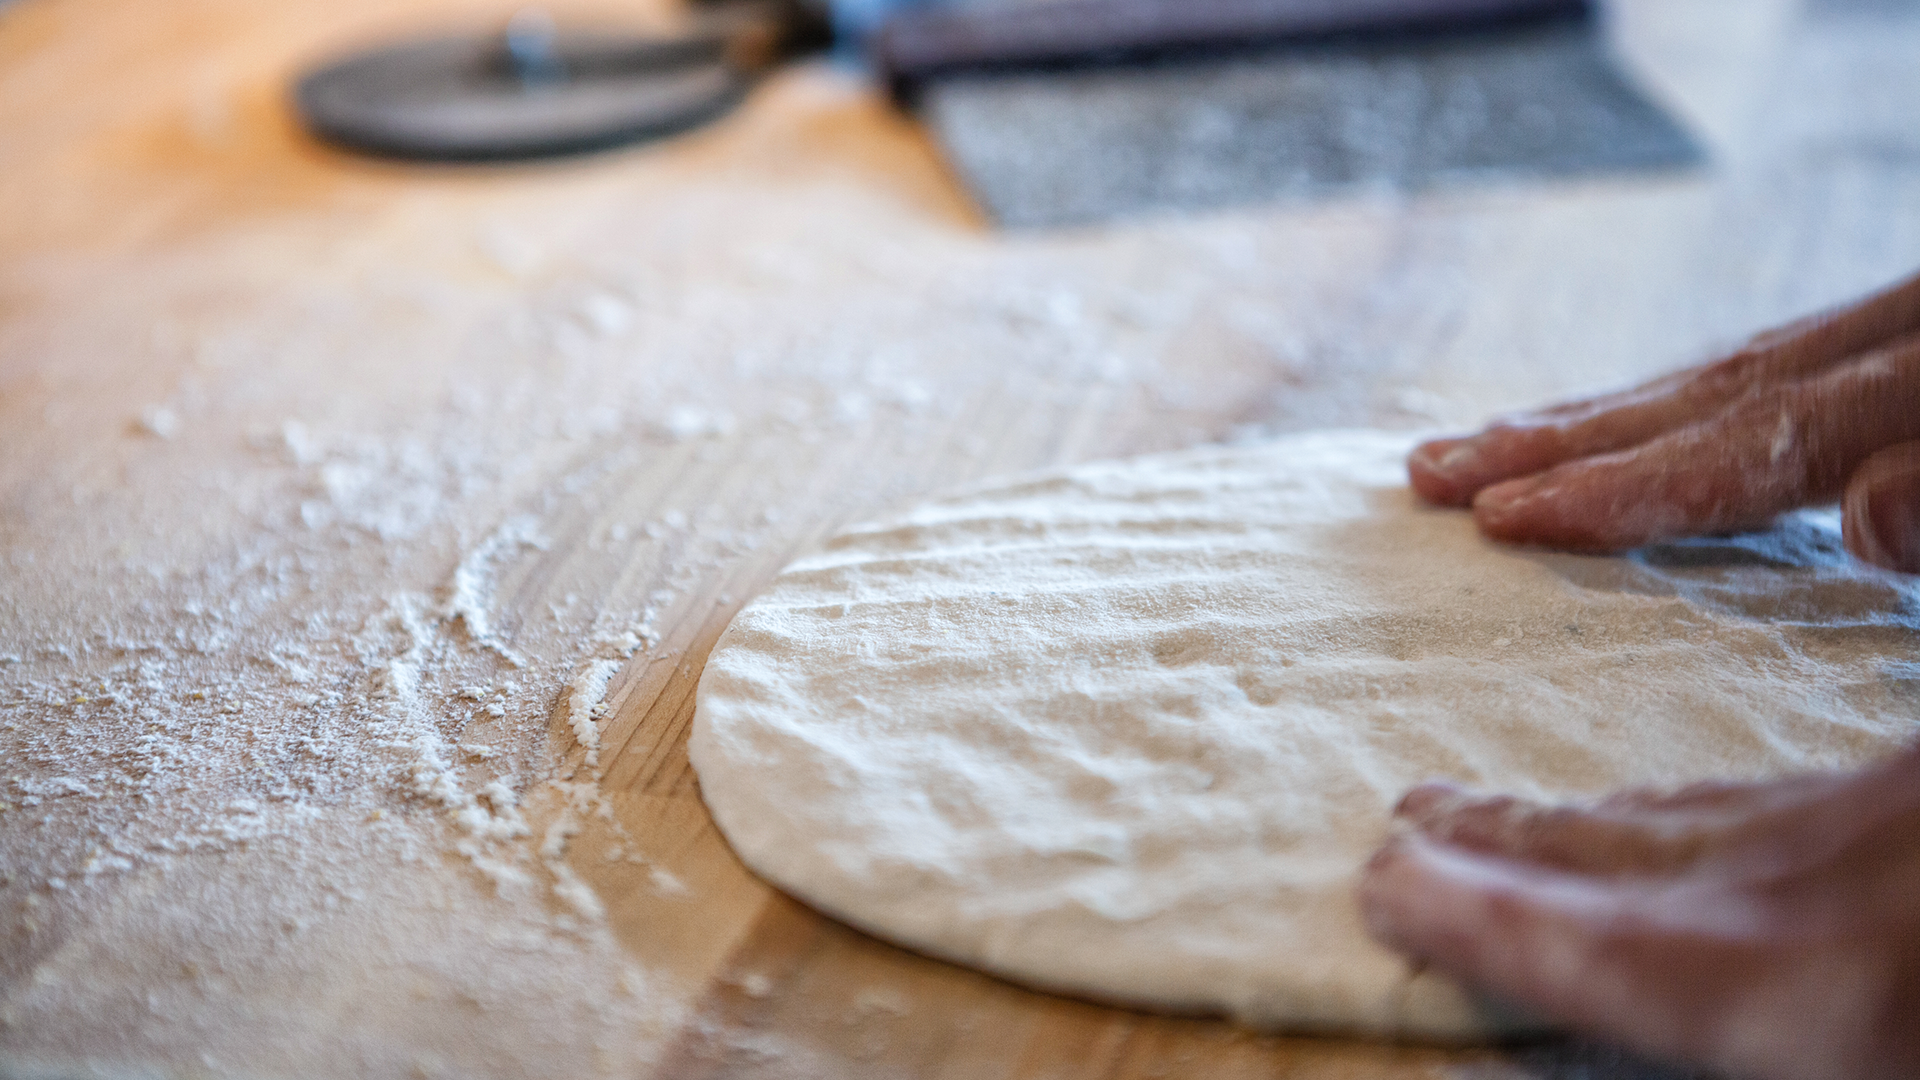
According to both chefs, the gold standard when making fresh pizza dough is to use 00 flour, which is a really fine, soft white flour (the “00” refers to the grind size of the flour). “It has a medium gluten content that makes for a nicely balanced crust – giving it enough of a chewy texture, but also letting it puff up around the edges of the pizza,” says Desorcie.
As for once you make and knead your dough, Armusik can’t overstate the importance of letting it rest for at least a minimum of 30 minutes before rolling out. “When you knead the dough, it activates the gluten, but the gluten needs to be given some time to relax after – otherwise, it makes the dough difficult to roll out and shape,” he says. “It will snap back into place.”
3. CRANK THAT OVEN UP AT LEAST 1 HOUR BEFORE PUTTING THE PIZZA IN
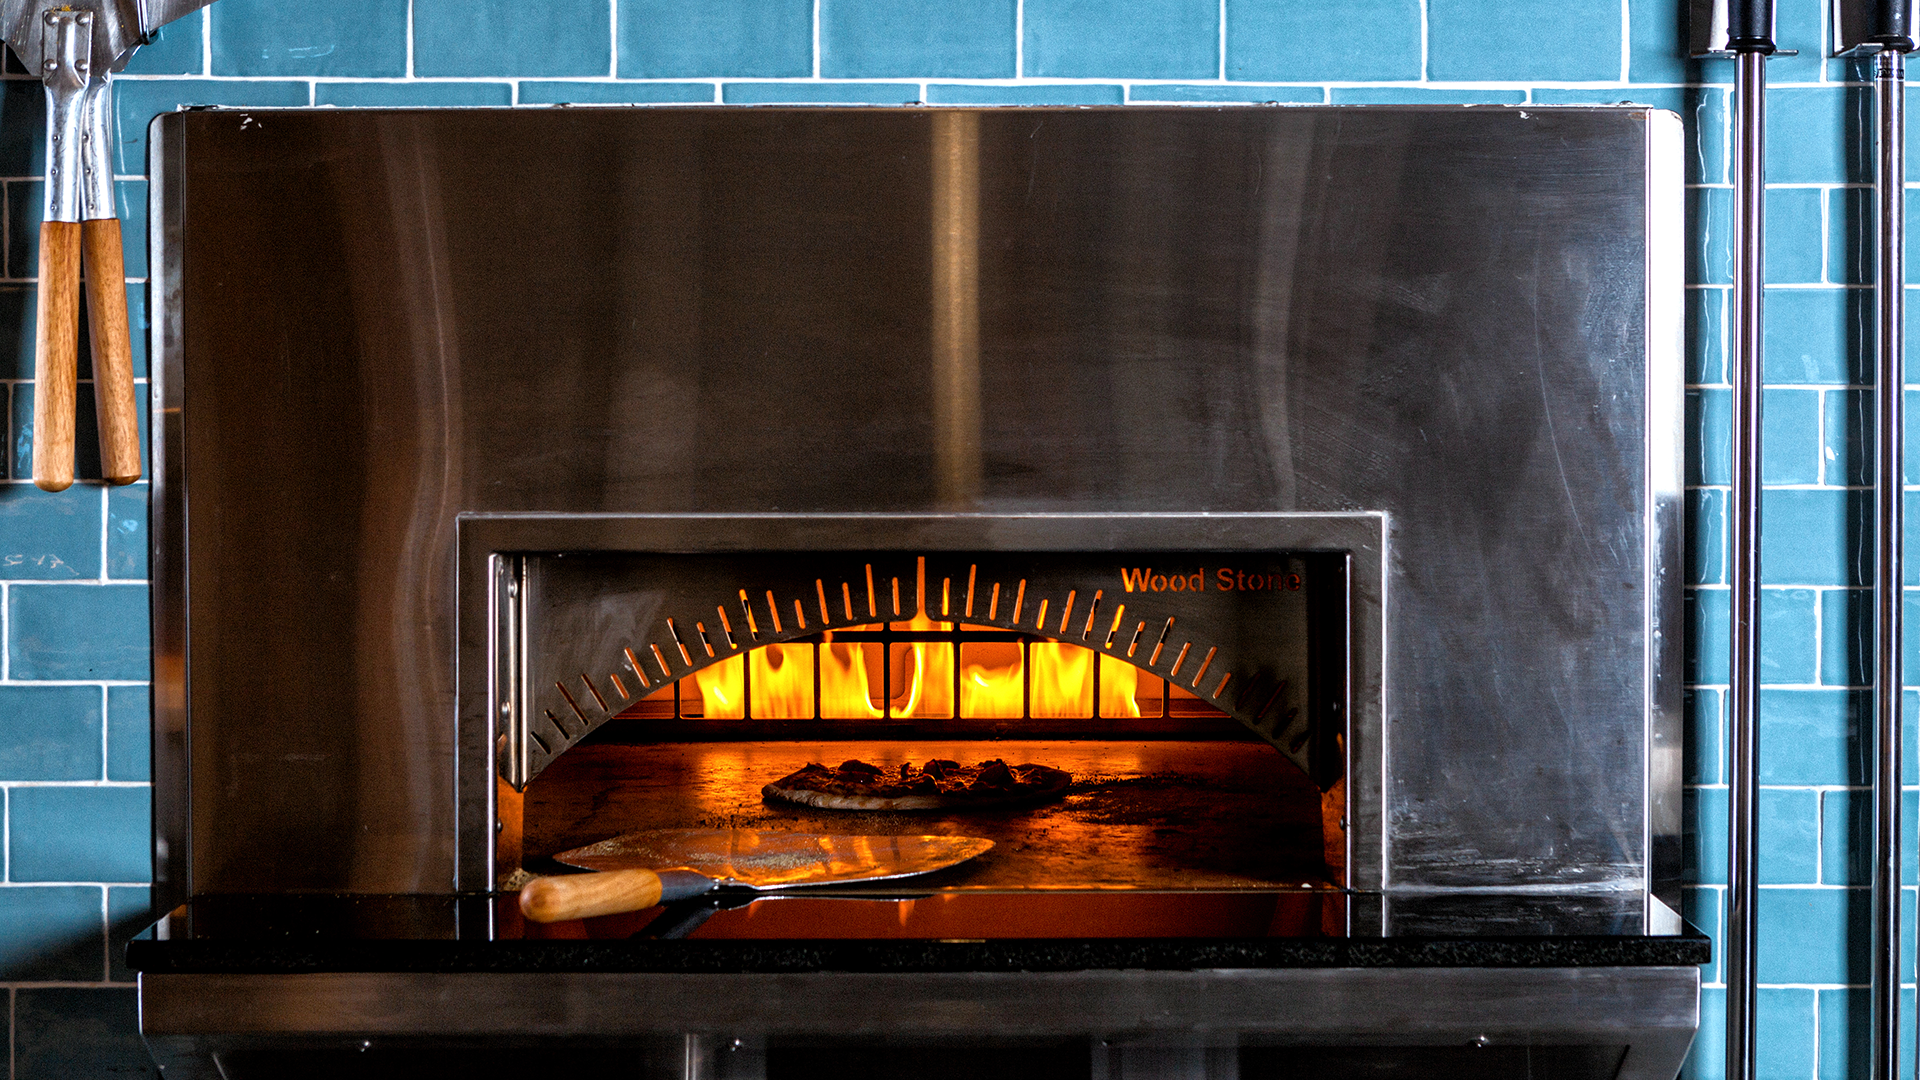
Chances are, your home kitchen isn’t equipped with a wood-fired pizza oven, like Opal’s Drift restaurants. But fear not: Your trusty gas or electric oven can still turn out a restaurant-worthy pie – provided you’re willing to crank up the heat.
“Not just because you want to preheat the stone,” explains Armusik, “but because you’re going to be cranking your oven to what is probably its highest setting: 500°F.” And when was the last time you did that? Make sure your oven is clean before turning up the heat, then give it plenty of time to reach temperature.
4. CORNMEAL – YOUR SECRET SLIDING WEAPON
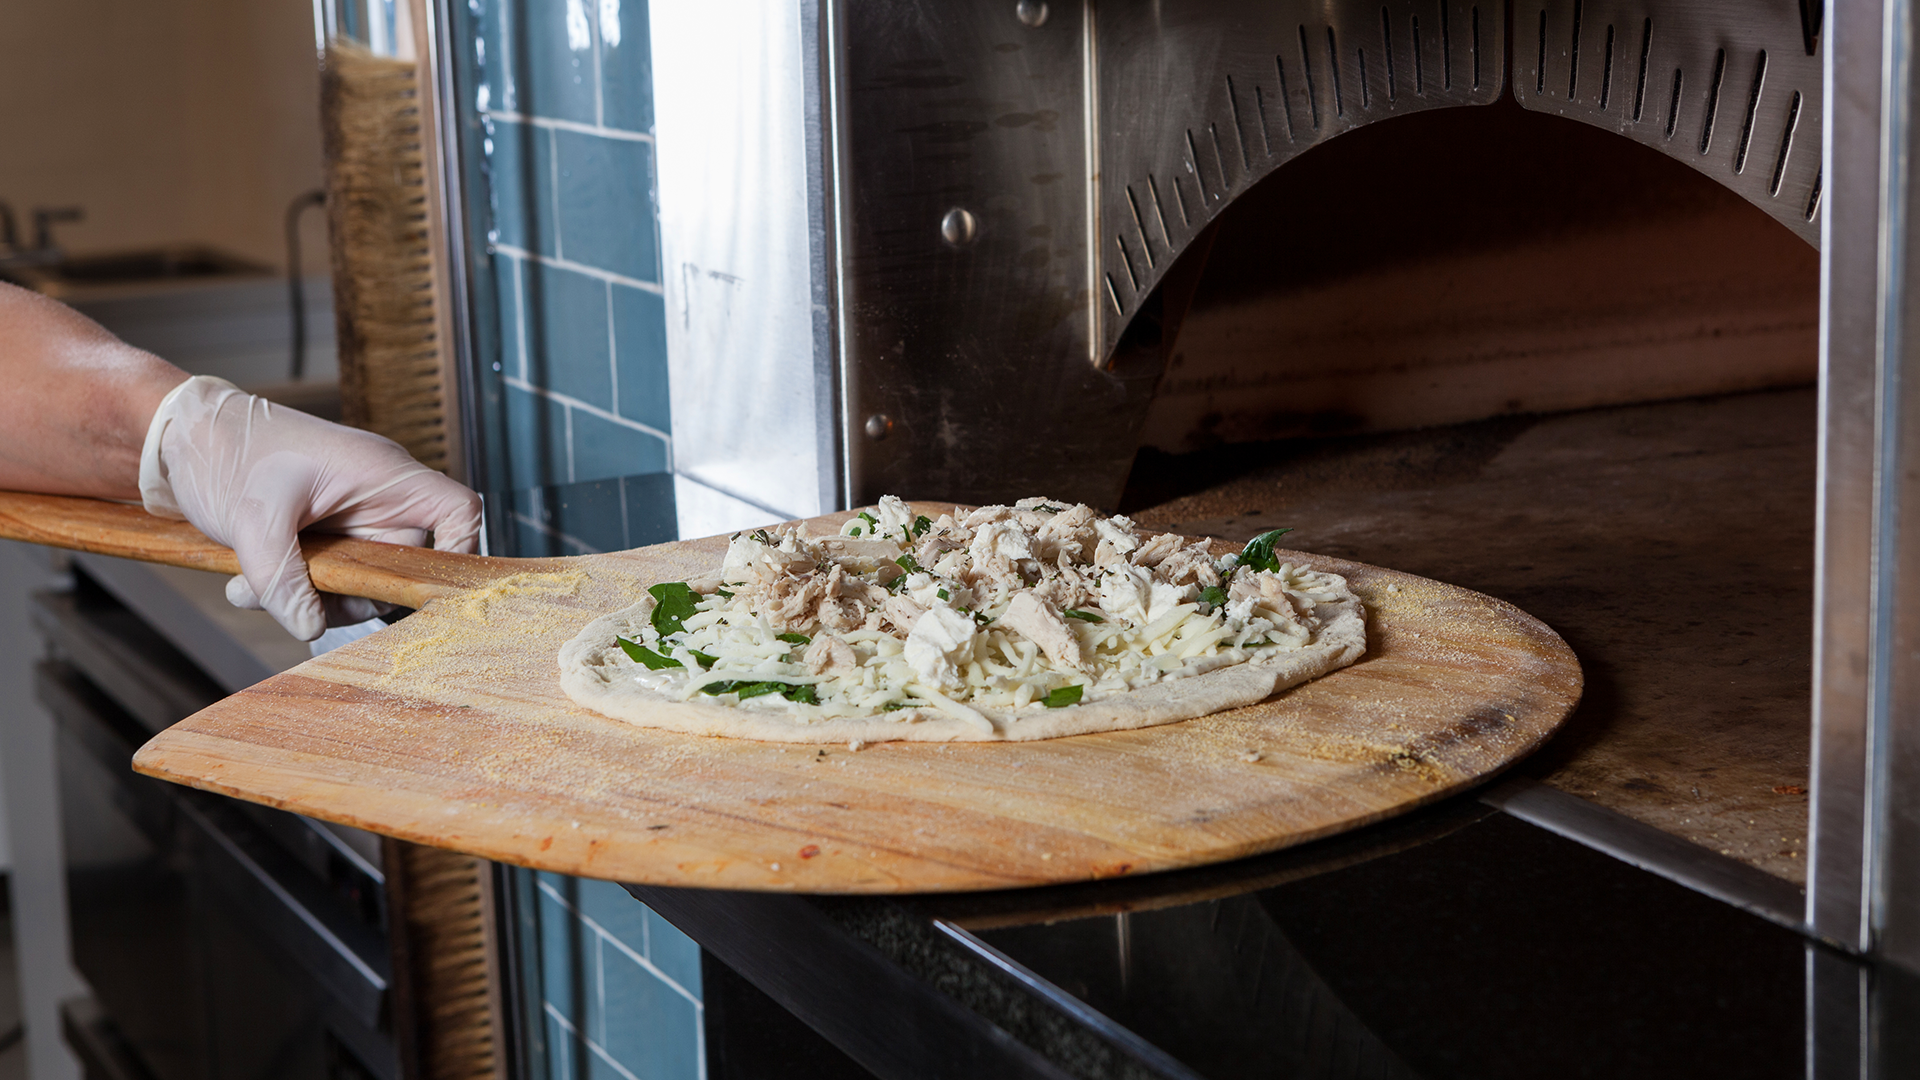
Once your crust is rolled out, it’s time for the toppings, right? Not so fast. You’re going to want to piece together your masterpiece on the peel (not off of it as that can make for a messy transfer). But before you do that, sprinkle just a bit of cornmeal – a light dusting will do – on the peel. Then once you put that dough on the peel, give it a little shake back and forth a few times. “This is where that ‘pizza finesse’ I was talking about comes in,” says Armusik. “Without that little shake to loosen it, when it comes time to put that pizza in the oven, you might find it doesn’t want to release.” And then that’s a big mess.
5. PUT AWAY THE PASTA SAUCE
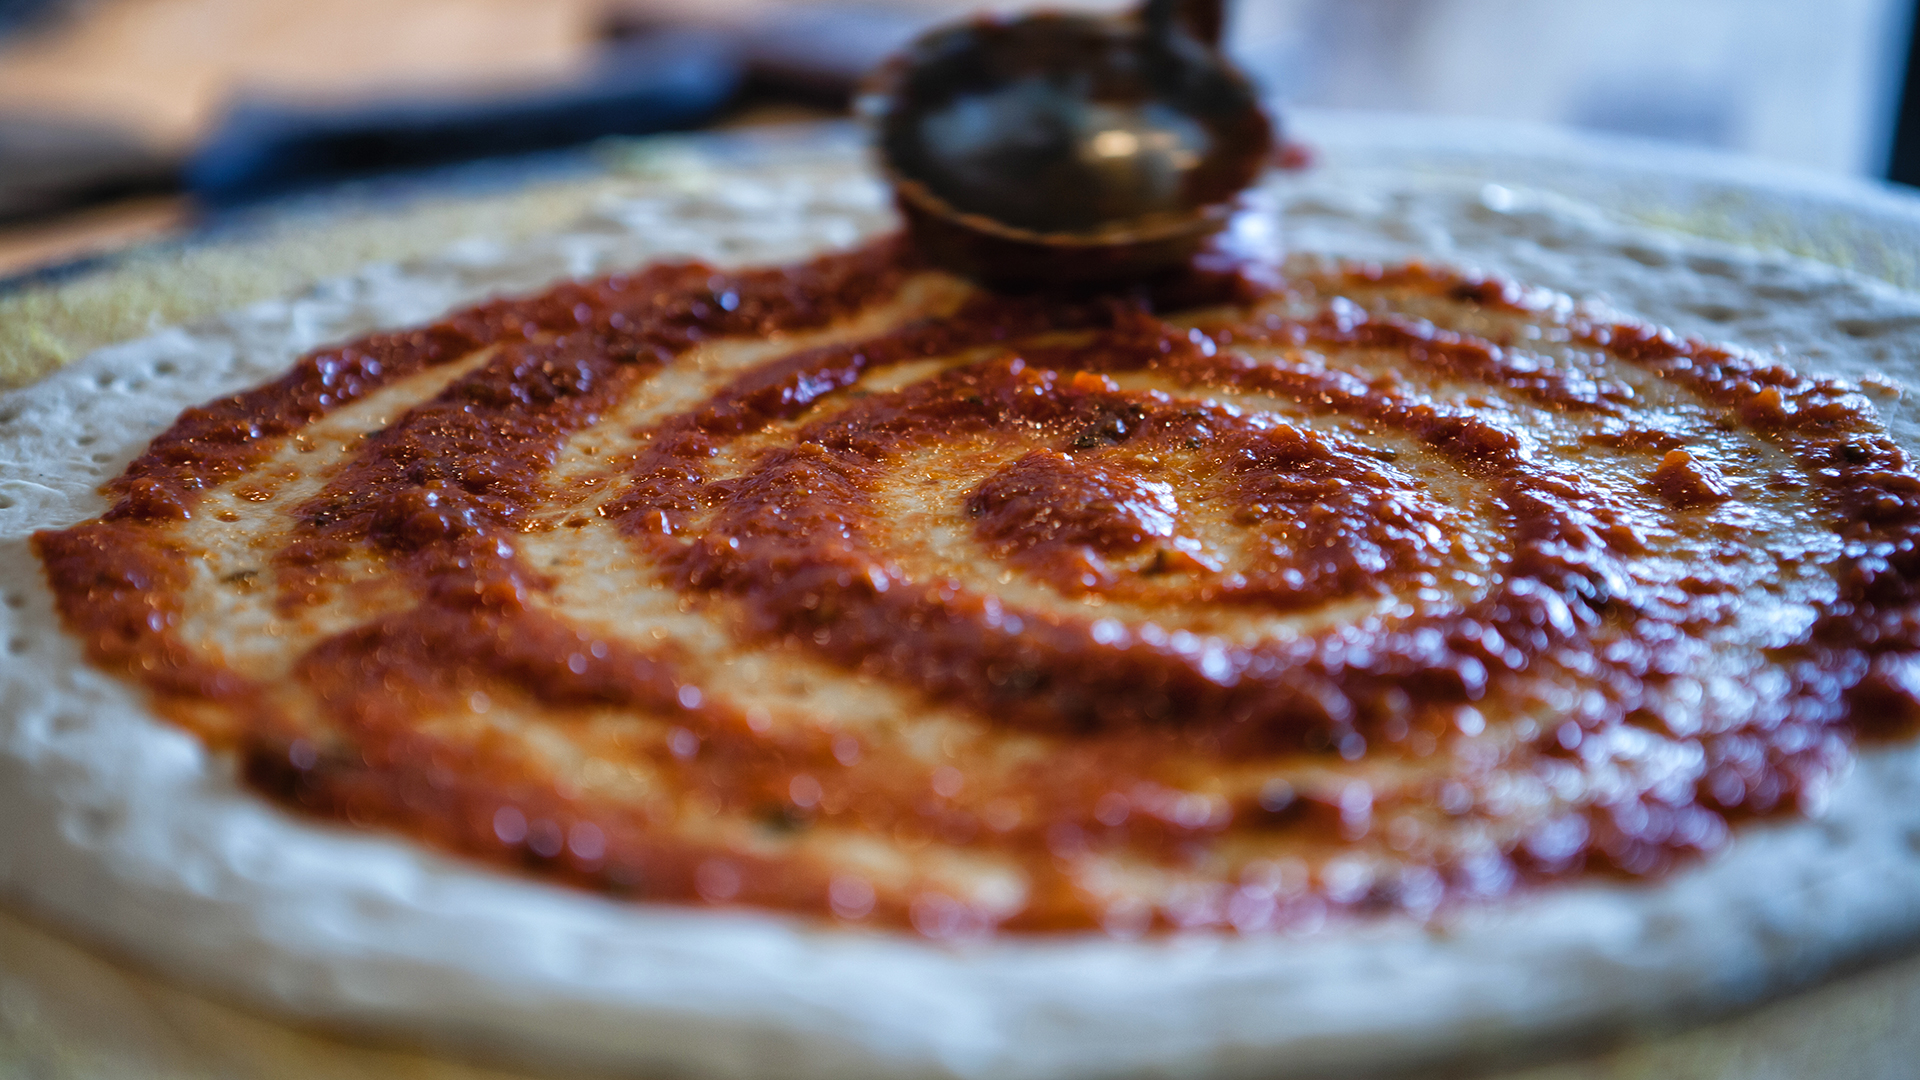
Think pizza and pasta sauces are pretty much the same thing? (Somewhere, several Italian grandmothers are rolling in their graves). There are a number of reasons why they are different, but, in the case of your pizza, the most important one to know is that a tomato sauce meant for pasta is going to have a higher water content. “If you use that on your pizza,” says Desorcie, “expect a very watery, wet-like pizza with sauce running all over the place.”
Armusik suggests simply using a straight tomato puree (anything from a can is fine) then mixing it with dry Italian seasonings and fresh basil.
6. WHEN IT COMES TO TOPPINGS, LESS IS MORE
A “Shrimp & Goat Cheese” pizza with spicy pesto as the base, topped with chimichurri shrimp, mozzarella and goat cheese, and cherry peppers. Or even a “Cheeseburger” pizza with a ketchup-mayo-relish sauce topped with ground beef, shredded cheddar, fresh tomatoes, and pickles. These are just two examples of creative pizzas that have been featured on the menus in both Drift Kitchen + Bars.
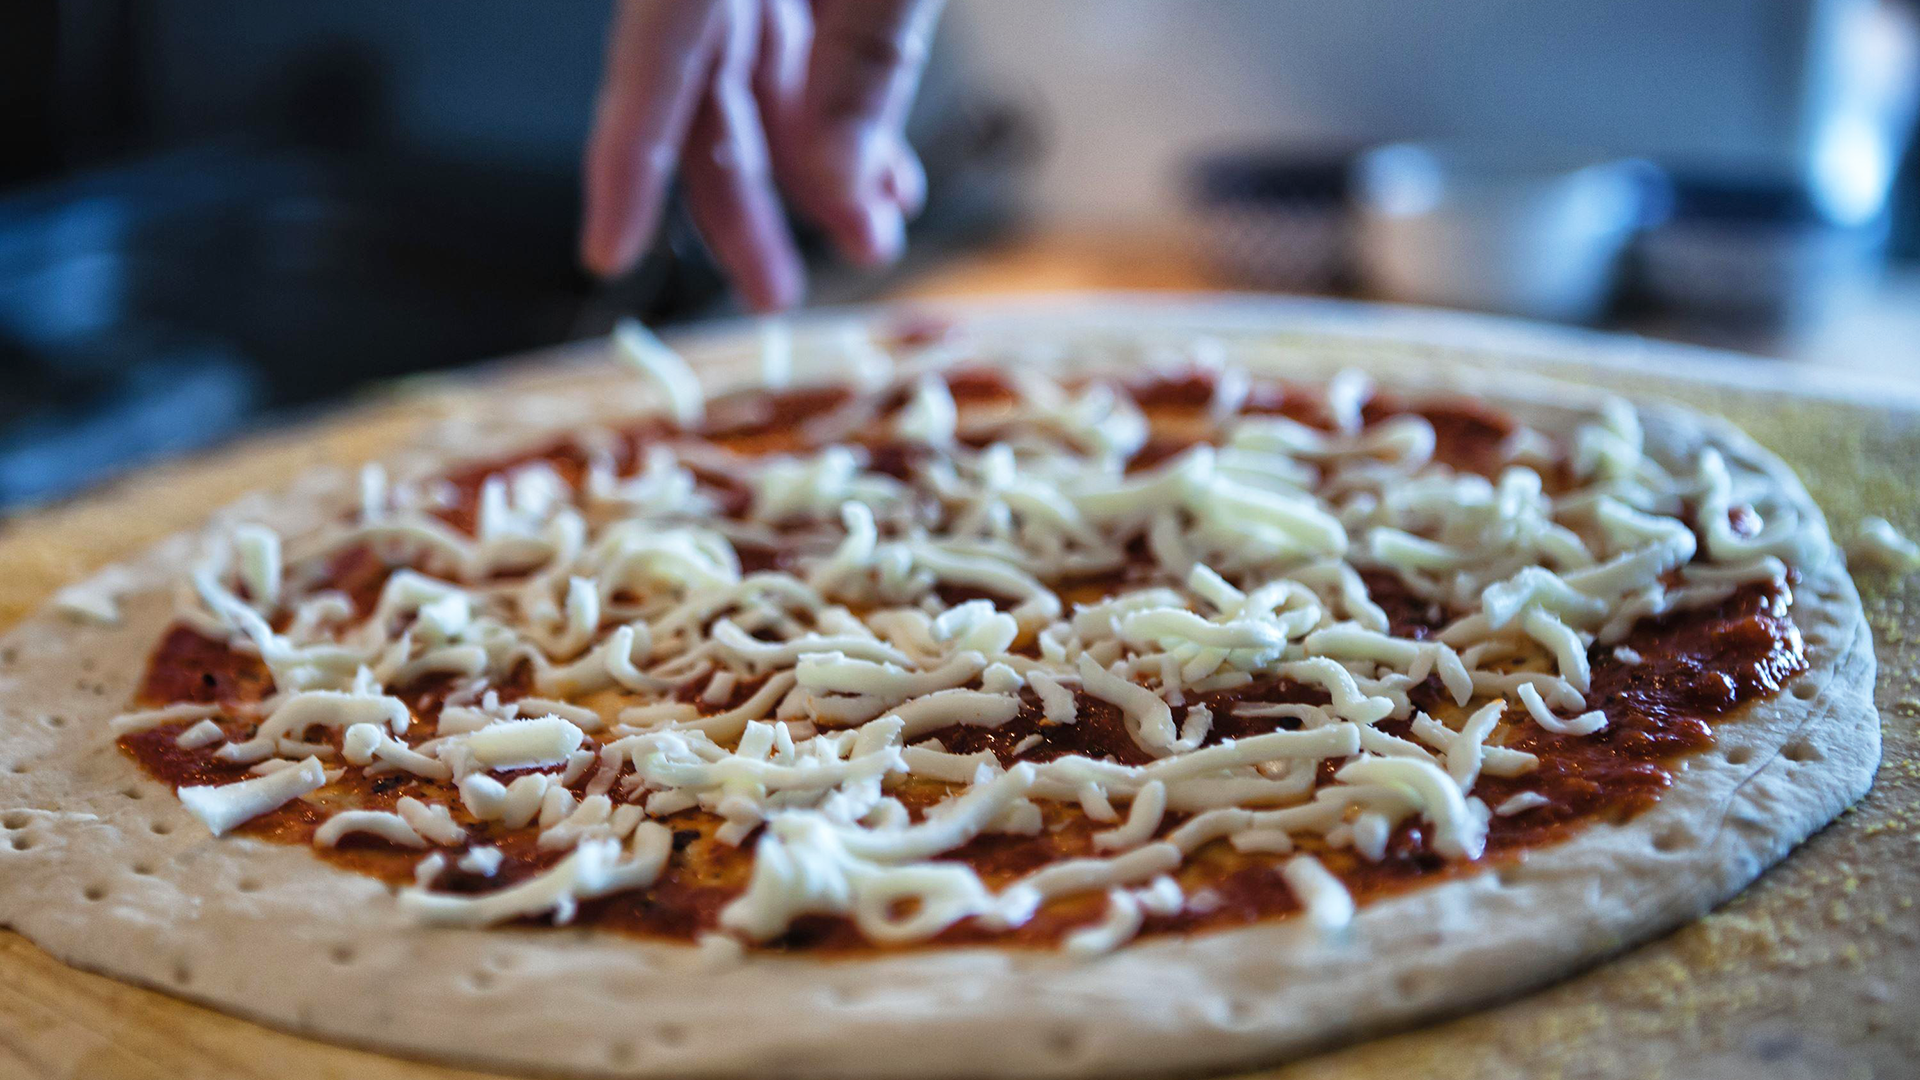
But while Armusik says the variety of topping combinations you can come up with is unlimited, the total amount of toppings definitely should have a limit. “If you load up on the toppings, it’s going to be too heavy and fall apart as you’re eating, plus, the bottom of your pizza likely won’t cook fully and will be more soft than crispy,” says Armusik. Desorcie suggests limiting your number of different toppings to three to five (not including cheese). “More toppings than that and the more likely you’re going to load that thing up,” he says. “Plus, you don’t want it to be a mess of competing flavors, but a symphony that allows each of the toppings to have their own solo in each and every bite.”
TL;DR: A SLICE-SIZED PIZZA-MAKING PRIMER
All the “doughs” and don’ts for perfecting your homemade pie, served up in one quick slice.
- Flour Power: Reach for pizza-friendly 00 flour for a crust worth bragging about.
- Give It a Rest: Let your dough relax for at least 30 minutes after kneading. It’s earned it.
- Turn Up the Heat: Crank that oven to 500°F, if your equipment allows.
- Patience Pays Off: Give your oven and pizza stone about an hour to get nice and hot, following manufacturer instructions.
- Get Saucy: Keep it simple: tomato purée, Italian seasoning, and fresh basil.
- Don’t Pile It On: Stick to 3–5 toppings (cheese doesn’t count!) to avoid an overloaded pie.
- Make Your Move: A light dusting of cornmeal and a little shake of the peel make for a smooth slide into the oven.